How to photograph old photos without glare
Glossy old prints bounce light straight into your camera. Here's how to get a clean, glare-free picture of a family photo with just your phone and a window.
You lay an old photo on the table, hold your phone over it, and there it is: a bright white patch right across someone's face. That's glare. It's the most common problem when taking pictures of old photos, and it's the hardest one to fix afterwards, because the detail under the shine simply isn't in the picture.
The good news is that glare is easy to avoid once you know where it comes from. Here's how.
Why glare happens
Many old prints have a glossy or semi-gloss surface. A glossy surface acts a bit like a mirror. When a light is in the "mirror position", meaning its reflection bounces off the photo straight into your camera, you get a bright spot. The usual culprits are:
- The phone's flash
- A ceiling light directly above you
- A window behind you or directly in front of you
- Glass or plastic over the photo, which adds its own reflections
Every fix below comes down to one idea: move the light so its reflection doesn't point at the camera.
1. Turn off the flash
The flash sits right next to the lens, so its reflection bounces almost straight back into it. On most phones, tap the lightning bolt icon in the camera app and choose Off. "Auto" is not enough; it will often fire indoors.
2. Use a window, from the side
Daylight from a window is the best light you can get for free. Set up on a table beside the window, so the light comes across the photo from the left or right, not from behind you or in front of you. Cloudy days are even better; the light is softer.
Keep the photo out of direct sunlight. Bright sun makes harsh shadows and is not good for old prints.
3. Turn off the lights above you
A ceiling light right above the table is in the perfect position to bounce off the photo into your phone. Switch it off and use the window instead. If you have to work at night, use a lamp placed off to one side at about the height of the table, not above it.
4. Hold the phone parallel to the photo
Hold the phone flat, straight above the photo. Watch the edges of the photo on your screen: if they look like a trapezoid, with one end wider than the other, level the phone until all four sides look straight. A straight-on picture keeps faces in proportion and is easier to restore.
5. Watch out for your own shadow
Leaning over the photo can block the light and leave a dark patch on one side. If that happens, step to the side away from the window, or hold the phone at arm's length.
6. Take it out of the frame or sleeve
Glass and plastic sleeves reflect much more than the photo does. If the photo comes out of its frame or sleeve easily and safely, take it out first. If it's stuck to an old album page, or the frame is sealed, don't force it. Tilt the frame slightly away from the window instead, or try a different spot in the room until the reflection moves off the photo.
7. Fill the frame and focus on a face
Move the phone closer until the photo nearly fills the screen, with a little table showing around the edges. Avoid the zoom button; moving closer gives a sharper picture. Then tap on a face to focus, wait a second, and take the picture. Rest your elbows on the table to hold still.
8. Check before you put it away
Zoom in on the faces on your phone. If you see a white haze or a bright patch, move the light or tilt the phone and take another. Taking three or four pictures and keeping the best one is perfectly normal.
What about textured or silk-finish photos?
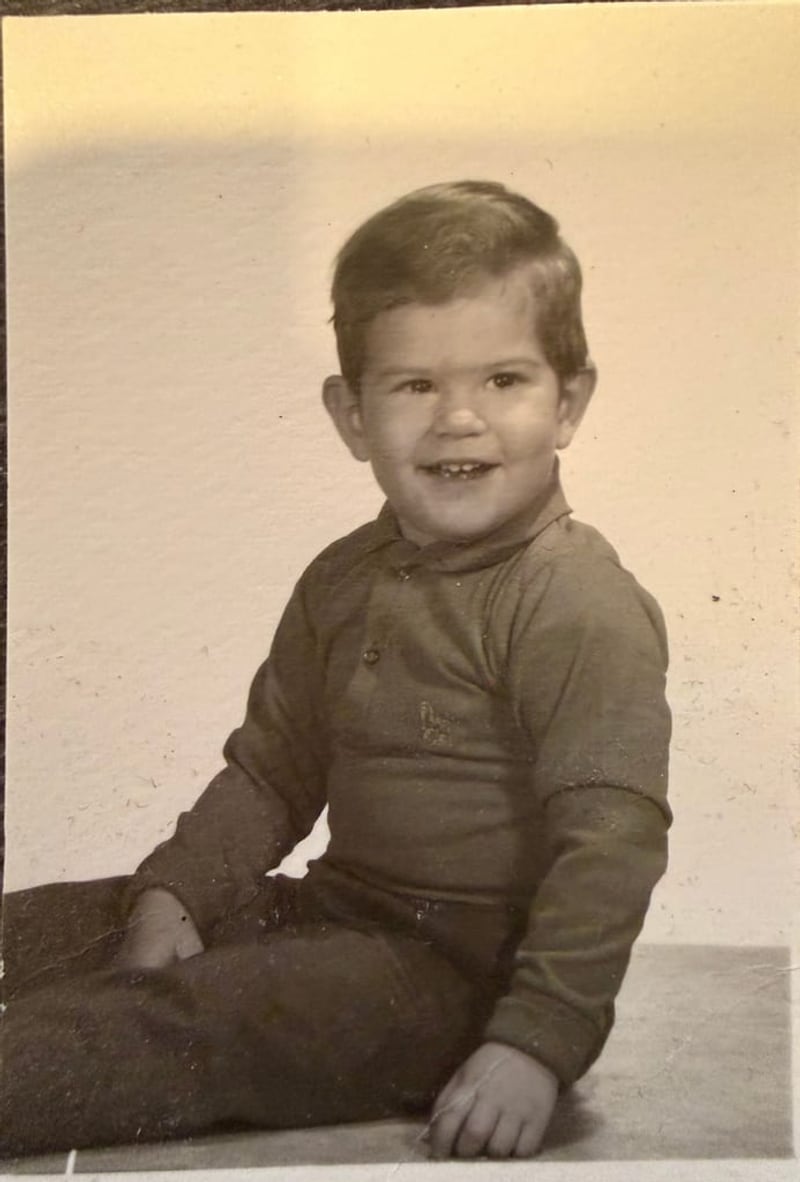
Many photos from the 1960s to the 1980s have a pebbly "silk" or "lustre" surface. In side light, that texture can show up as a pattern of tiny dots. Soft, even light (a cloudy day, or a window with a sheer curtain) keeps the pattern faint. A good restoration will smooth it out.
Once you have a clean picture
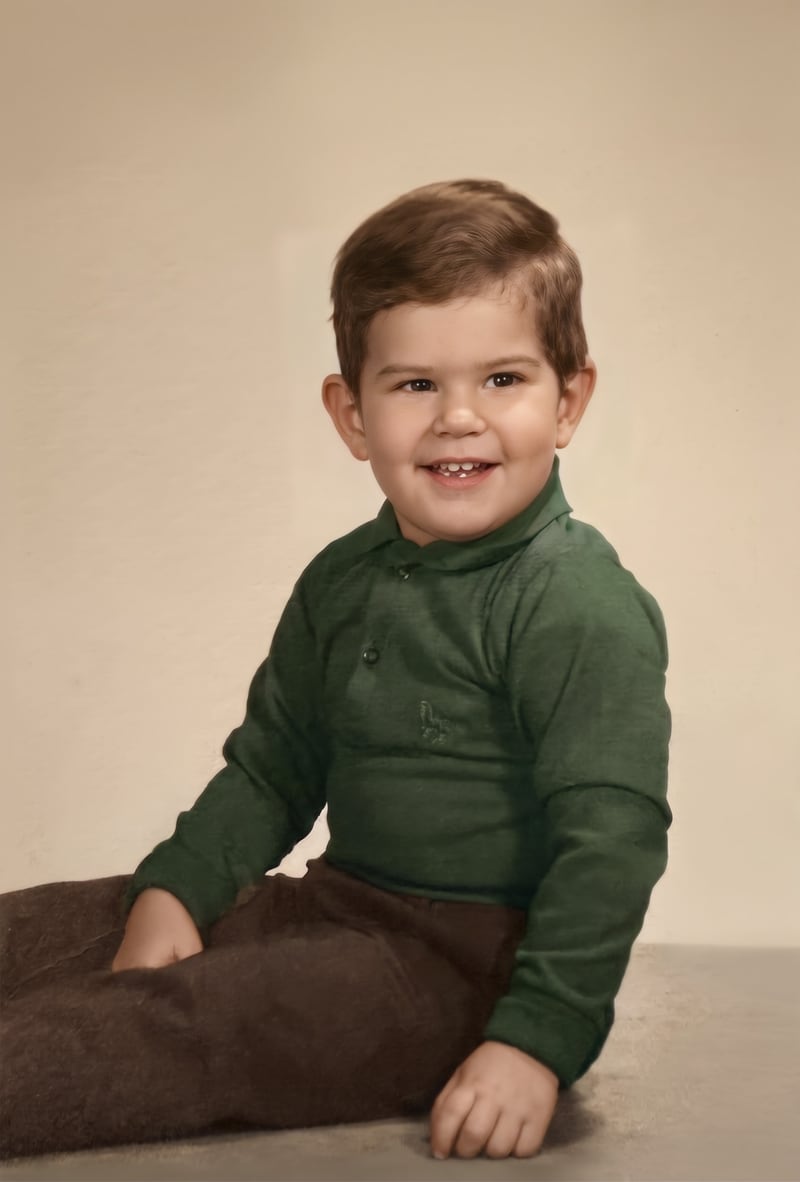
A clean, glare-free picture is the best possible starting point for a restoration. Scratches, spots and fading can all be repaired; glare is the one thing that's hard to undo. Our step-by-step guide on restoring old photos with your phone covers the rest. Or try it now with Shoebox Portraits: upload your picture and see it restored, free, in about a minute.
Glare checklist
- Flash off (not on Auto)
- Window beside you, not behind or in front
- Ceiling lights off
- Photo out of the glass or sleeve, if it's safe
- Phone flat and straight above the photo
- Still a shine? Tilt the phone a few degrees until it slides off